
A Solid Foundation: A Step-By-Step Guide to Pouring Your Own Concrete Pad
Calling all DIY-ers! Have you ever wondered if you could pour your own concrete pad? You Can!
There are a few benefits to installing your own concrete slab. You can save costs by doing it yourself. You can install it when and where you want. And you can learn a new skill!
Learn how to pour your own concrete pad today by reading our step-by-step guide!
First of all, there are a few reasons you may need a concrete slab on your property:
Extra Parking, Sports Courts, Shop Foundation, and Storage Shed Foundation. Today, we will focus on a concrete pad for a storage shed foundation because, as we know, we could all use a storage shed!
What are the benefits of a concrete foundation for a storage shed? Well, in short, it provides longevity, stability, a level surface, and protection. You’re already here, so you probably understand those benefits! So let’s get started!
Step-by-Step Guide to Installing a Concrete Pad for a Storage Shed
Step 1: Site Preparation
Select a good location for your storage shed. Make sure the ground is level and free of debris. Clear the ground so there are no rocks, roots, or other debris visible. You may need to move around some dirt to get that level surface. Then, use stakes and string to mark the perimeter of the pad. We like using wooden stakes! Before you get too far, be sure to check out special considerations toward the end of this post!
Step 2: Excavation
Now, you’ll want to prepare for the gravel base and concrete form. Do this by digging out the marked area until 4 inches deep minimum. Depending on the size of your area, you may need to rent an excavator, but in some cases, a shovel will do just fine. Be sure to check the level of the dug out area to make sure it’s uniform depth.
Step 3: Install the Forms
Now, you will build the forms to define the edges of your soon-to-be concrete pad. Grab some sturdy, straight lumber for the forms and secure them with stakes. We like to use 2x4’s or 2x6’s. Make sure the forms are level, straight, and square. You can do this by measuring from corner to corner.
Step 4: Add Gravel Base
Now, you are going to add the gravel base into your excavated area. You will want 2-3 inches of gravel. We use basic road base because it’s the least expensive. Pack the gravel down using a hand tamper or rented plate compactor. This will ensure you have a stable base for the concrete and helps with drainage.
Step 5: Reinforcement
To give your concrete pad extra strength, consider reinforcing the concrete with wire mesh or rebar. Put the reinforcement in the center of the pad and make sure it is well-supported above the gravel base. This isn’t absolutely necessary, but we do recommend this step!
Step 6: Mixing and Pouring Concrete
Check out the manufacturer’s instructions on your concrete product and follow those instructions. Mix it well, then pour it into the forms. Begin pouring in one corner and work your way across. You can use a screed board to level the concrete. Move the board in a sawing motion across the top of the forms.
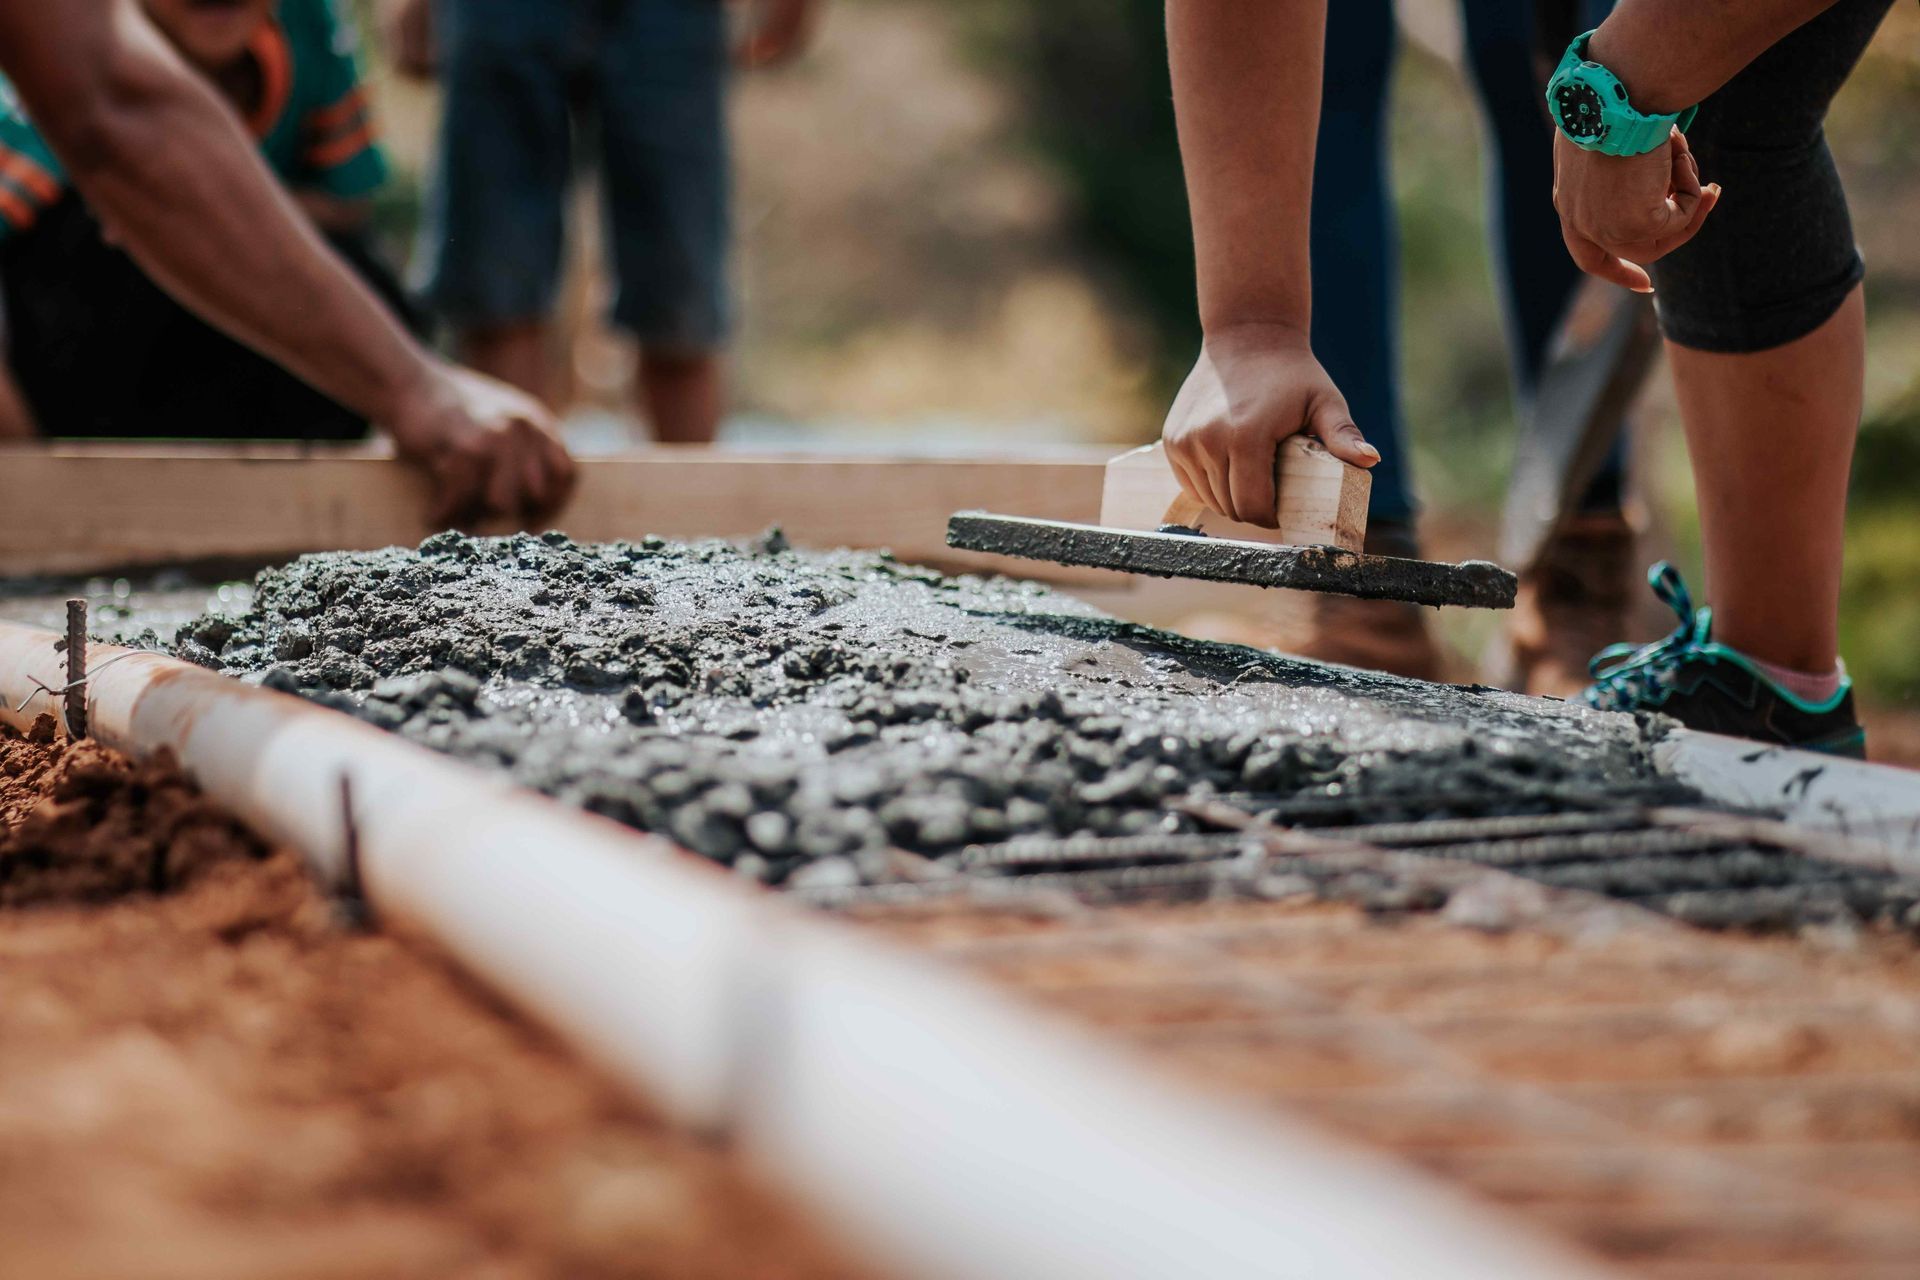
Step 7: Finishing
Make your concrete smooth on the surface with a bull float. Then, use a thrown to create a smooth, even finish. You can also add a broom finish for added traction.
Step 8: Curing & Protection
While your concrete cures, cover the newly poured slab with plastic sheeting to retain moisture. This will help keep in adequate moisture so it doesn’t crack during this time. Let it cure for at least seven days before placing any weight on it.
Now you have a concrete slab and can put your shed right on top! Nice work building something for your property and learning a new skill!
**Special Considerations: There are a few things to consider before you go out and do this on your own.
- Check local building codes for any specific requirements or permits needed.
- Consider adding an anchor system to secure your shed to the concrete slab.
- Plan for proper drainage to prevent water pooling around your shed.
Thanks for reading! We hope you enjoy your concrete slab for years to come!
Twin Falls Concrete Contractors Team
You might also like
Twin Falls Concrete Contractors